

If you’ve ever tried to dig a hole in your backyard here in Lufkin or Nacogdoches after a dry spell, you already know the truth: our dirt isn’t really dirt. It’s clay. Hard, sticky, stubborn clay that turns to soup when it rains and cracks like pottery when it doesn’t.
A lot of homeowners assume the fix is simple — just mix in some sand to “loosen it up.” We hear this all the time, and we understand the logic. Sand feels loose and gritty, clay feels dense and heavy, so mixing the two seems like it should even things out.
It doesn’t. In fact, it can make things worse. Much worse.
Today we want to walk you through what’s actually happening underneath your yard, why sand is the wrong answer, and what really works to turn stubborn East Texas clay into a lawn that thrives instead of just survives.
Why Our Soil Is the Way It Is
Angelina County sits on what’s called Gulf Coastal Plain geology, and that shapes almost everything about how our lawns behave. According to the USDA NRCS Web Soil Survey, the dominant soil series around here — Woodtell, Bowie, and Sacul — all share the same basic personality: heavy clay content in the subsoil, moderate-to-low permeability, and a moderate-to-high shrink-swell potential.
In plain terms, that means water doesn’t move through our soil easily, and the soil itself moves. It expands when it’s wet and shrinks when it’s dry. That movement is strong enough to crack foundations, buckle sidewalks, and stress irrigation lines if it isn’t managed properly — which is exactly why soil prep matters so much before you ever lay a single square of sod.
On top of that, most Angelina County soils run naturally acidic, typically in the 5.5 to 6.5 pH range. Native forest soils around here usually carry a decent amount of organic matter built up over decades of leaf litter and natural decay. But if your yard was part of a newer development, chances are a bulldozer scraped off that topsoil before your house was ever built. Construction-disturbed soils are almost always severely depleted of organic matter, which leaves you starting with the worst version of an already difficult soil type.
Start With a Soil Test, Not a Guess
Before you spend a dime on sod, amendments, or a new sprinkler system, get your soil tested. Texas A&M AgriLife Extension runs a Soil, Water and Forage Testing Laboratory that can tell you exactly what you’re working with — pH, phosphorus, potassium, and organic matter content — for around $10 to $20. That’s about the cost of a couple of lunches, and it tells you precisely what your yard needs instead of leaving you to guess.
We recommend having this done two to four weeks before any installation. It gives you time to get results back and plan your amendments accordingly, rather than throwing money at products your soil may not even need.
Clearing the Way: Vegetation Removal
New sod needs bare, prepared soil to root into — not a battle with whatever grass or weeds are already growing there. Old vegetation has to go, either mechanically with a sod cutter or chemically using glyphosate.
If you go the chemical route, a two-step approach works best: apply the herbicide, wait seven to fourteen days for it to fully translocate through the plant and kill the root system, then hit any remaining green growth with a second treatment. Rushing this step is one of the most common mistakes we see — homeowners till in vegetation that isn’t fully dead, and it comes right back up through the new sod a few weeks later.
Grading: The Step Everyone Underestimates
Here’s something we tell every customer: grading isn’t optional, and it isn’t just about looks. Your finished grade needs to slope away from your house and any other structures at a rate of about 1 to 2 percent — roughly a 1 to 2 foot drop over a 100-foot run.
That might not sound like much, but even a small low spot that collects water can suffocate the roots of new sod and kill it outright. In East Texas, where our clay soils already drain slowly and our rain tends to come in hard, fast bursts, proper grading is the difference between water moving off your property the way it should and water sitting on your lawn for days after a storm.
The Big Question: What Do You Actually Mix Into Clay Soil?
This is where we want to slow down, because it’s the single most common mistake we see homeowners make — and it’s the whole reason we’re writing this post.
The instinct to add sand to clay soil is understandable. But it’s backwards. As the folks at Tri-Turf Sod Farms put it, citing research from Colorado State University Extension: “Never add fine sand to clay soil. Colorado State University Extension and multiple other sources confirm that mixing sand into clay creates an extremely hard, almost cement-like material. Use compost and organic matter to improve clay structure.”
Cement-like is not an exaggeration. Clay particles are microscopically small and flat, and sand particles are comparatively huge and round. When you mix the two, the sand particles don’t create air pockets — they fill in around the clay, and the clay cements around the sand. What you get is something closer to concrete than to soil. Roots can’t push through it, water can’t drain through it, and you’ve turned a bad problem into a worse one that’s much harder to undo.
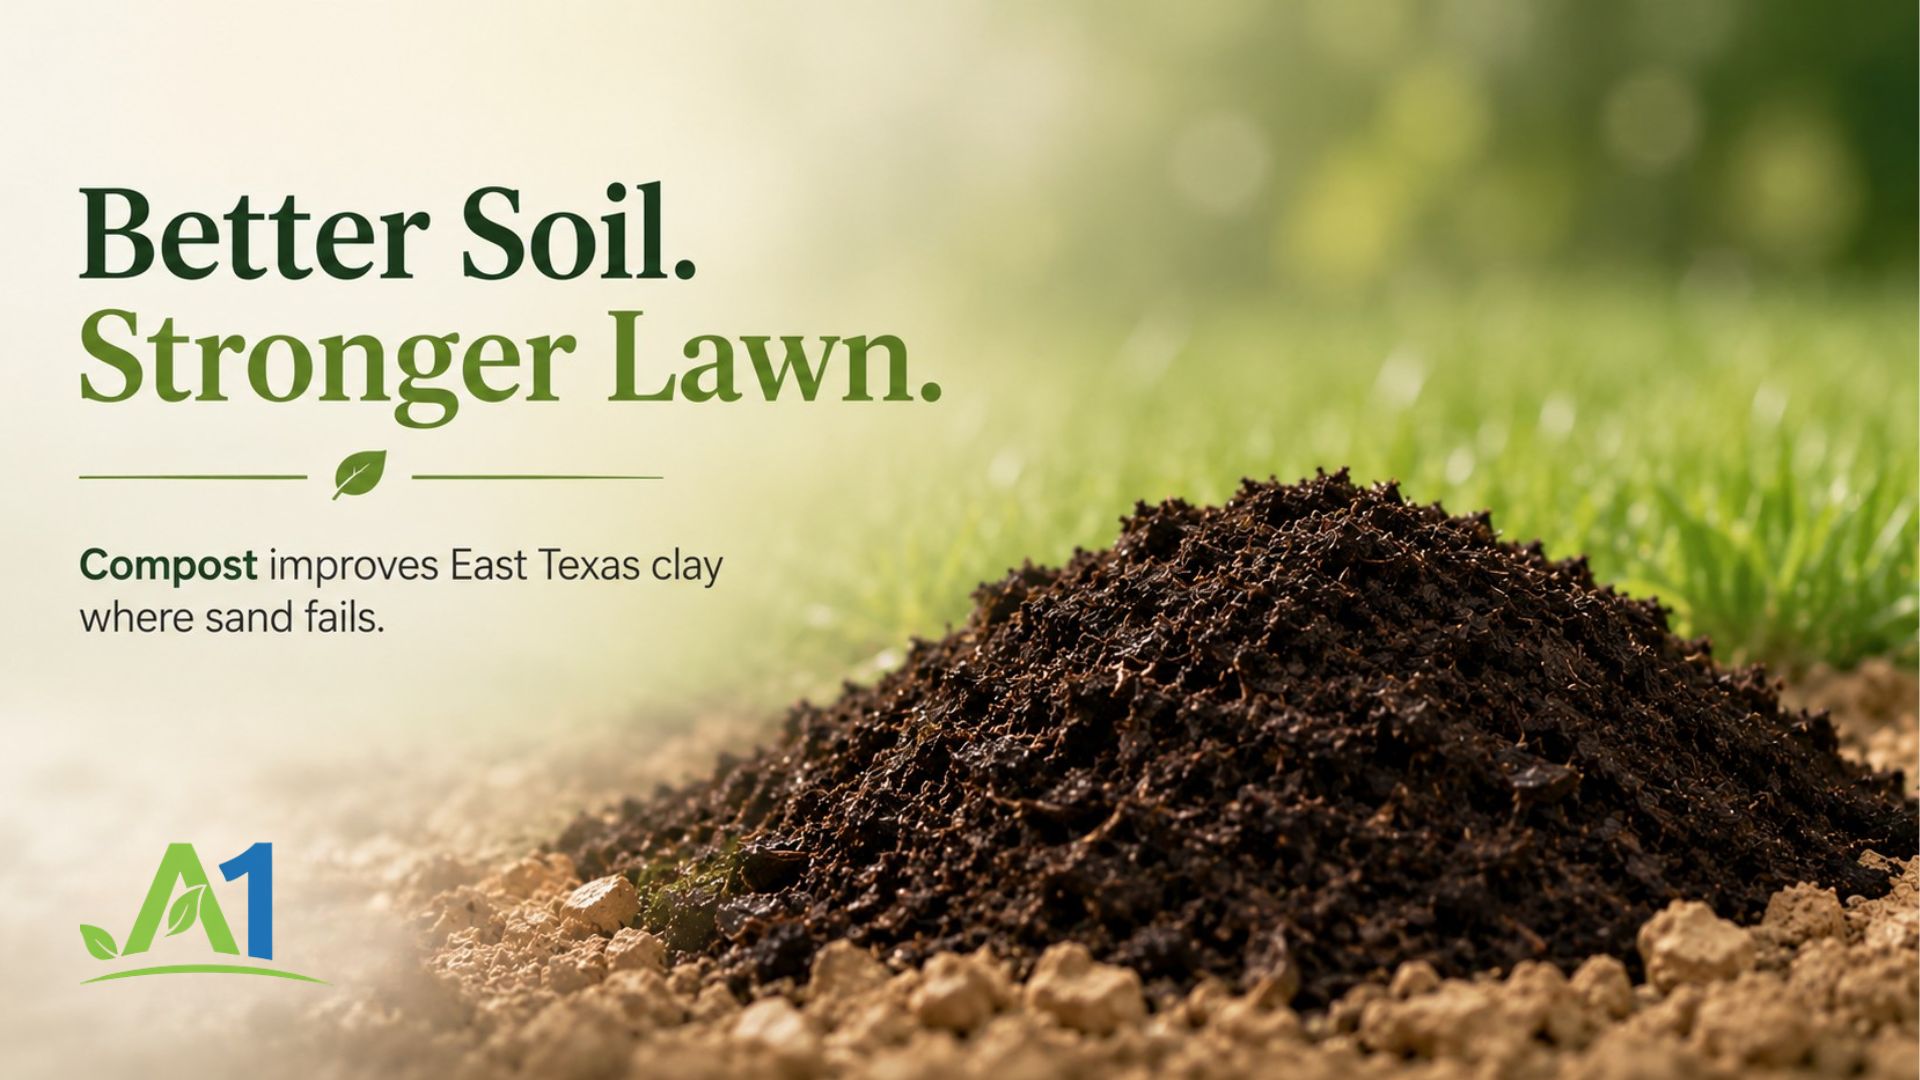
What Actually Works: Compost
The right amendment for East Texas clay is compost, and the method is straightforward:
- Spread 2 to 3 inches of quality compost evenly over the bare, graded soil
- Till it into the top 4 to 6 inches of clay
- This creates a blended root zone with real porosity — space for water, air, and roots to move through the soil the way they’re supposed to
Compost works because it physically breaks up the clay structure while also feeding the soil biology that clay soils are often lacking, especially on newer construction lots where the topsoil is long gone. It improves water infiltration, gives roots room to actually spread and establish, and it does all of this without the cement effect that sand creates.
As Tri-Turf Sod Farms puts it plainly: “You can buy the highest-quality sod on the market, but if you lay it on poorly prepared soil, it will struggle to root, develop disease, or die outright… Skipping or rushing soil prep is the number one cause of sod failure.”
We’ve seen this play out on plenty of East Texas properties. Beautiful, healthy sod goes down on unprepared clay, looks great for a few weeks, and then starts thinning, yellowing, or dying in patches once the roots hit that hardpan underneath. It’s heartbreaking, and it’s almost always preventable.
Finishing the Job: Final Grade and Rolling
Once the compost is tilled in, it’s time to set your final grade. Use a steel landscape rake to establish a smooth, even surface. Your finished grade should sit about 1 inch below any adjacent sidewalks, driveways, or patios — that way, once the sod is laid on top, it sits flush with those hard surfaces instead of creating a lip that catches a mower blade or trips someone up.
After grading, roll the area with a 200 to 300 pound lawn roller to firm the soil and eliminate air pockets that could cause the ground to settle unevenly later. A simple field test can tell you if you’ve got it right: walk across the prepared area and check your footprints. If they sink more than about half an inch, the soil needs more compaction before sod goes down.
Why This Matters More Than the Sod Itself
We get a lot of calls from folks who are focused entirely on which grass variety to choose — Bermuda, St. Augustine, Zoysia — and that’s an important decision. But the truth is, the soil underneath matters more than the grass on top. The best sod in Texas will still fail on poorly prepared clay. Meanwhile, properly amended soil gives even an average install a real shot at long-term success.
This is also where a lawn care company with actual East Texas roots makes a difference. National chains often run standardized programs that don’t account for the fact that Angelina County clay behaves nothing like sandy soil in other parts of the state, or the loamy soils you’d find further north. We’ve spent years working these specific soil series — Woodtell, Bowie, Sacul — on properties across Lufkin, Nacogdoches, and the surrounding counties, and we know how they respond to compost, grading, and moisture differently than a generic playbook assumes.
The Bottom Line
Taming East Texas clay isn’t about fighting the soil — it’s about working with what it needs. That means testing before you guess, clearing vegetation thoroughly, grading for real drainage, and amending with compost instead of sand. Skip sand entirely. Every time. Get those steps right, and your new sod has an honest chance to root deep, establish strong, and hold up through our East Texas summers and winters for years to come.
A1 Lawn & Landscape proudly serves Lufkin, Nacogdoches, and surrounding East Texas communities.
📞 Call 936-635-0555 for a free estimate.
Author: Billy Forrest